Gloves are very easy to make without patterns, all you need to master before doing it is double pointed needles.
Start at the wrist, or higher if you choose, cast on the appropriate number of stitches. You can figure this number out by wrapping something else you knit with the same yarn and the same size needle around your wrist and counting. You can also do a swatch long enough to wrap around your wrist to make sure you get the right count. An even number of stitches is a good choice because you may want to start with ribbing around the wrist.
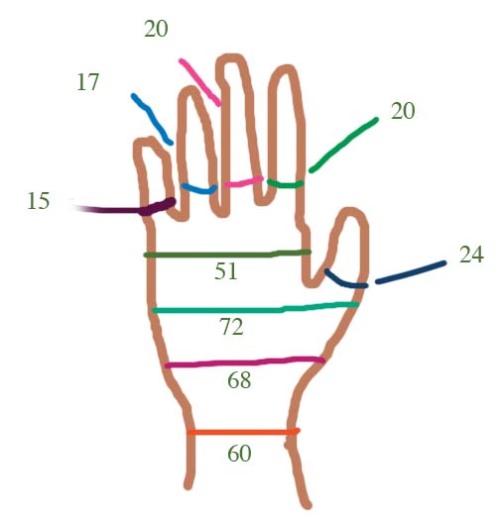
Ribbing is a good choice for elasticity. I did these with k2, p2 repeats. Its very important to write down what you do on the first glove so you can repeat it on the second. Then knit upwards in a tube in stockinette (if that’s your choice). Keep trying your glove on to see what it needs as you go. Soon you will hit the part of your hand where the bone sticks out below the thumb, increase one or two stitches for this if you’re using worsted yarn and size 6 needles, more like 8 stitches if you’re using sock yarn and size 1 needles. Here’s a good way to keep track of what you’ve done, draw your hand. This is what I did when I was using sock yarn and size 1 needles. I have a pretty bony hand so you probably don’t want to copy my numbers, but this will give you the general idea:

Its good to make one of these when you're making the first glove so you just have to glance at it to know what to do for the second one. You can also include a count lengthwise.
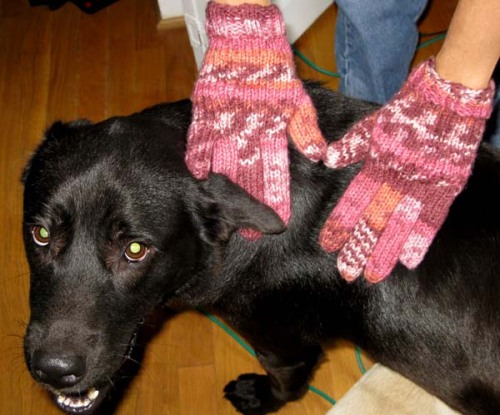
Once you get to the thumb area, there are two ways you can do this. One is just to leave a hole by starting at this point to work back and forth instead of in the round. Once you’ve got a big enough hole for your thumb, go back to working in the round and decrease a few stitches because your hand is smaller at this point, then attach the thumb later. That’s what I did for these. As long as you keep trying on your glove as you go, you will know what to do:

Thumb added as an afterthought, modeled by the lovely Mr. Spock
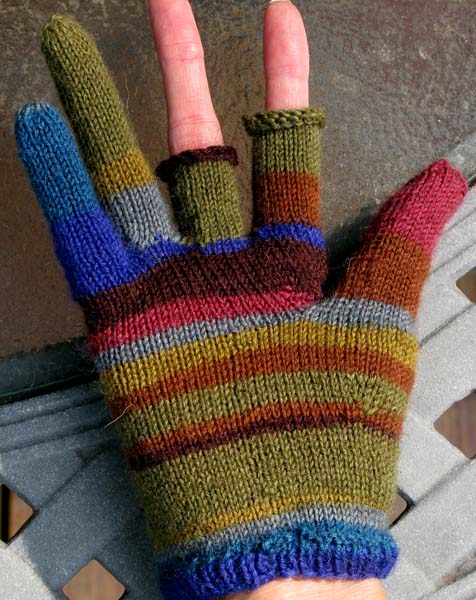
The other way to do it is more like this, you increase the amount you’ll need for the thumb, then make a separation for the thumb as you work upwards. You can then put the thumb stitches on a piece of yarn to save them for making it later, or work the thumb up right then and save the hand for later. Use double pointed needles and be sure to pull tight between the needles so you don’t get gaps along the fingers. When working the thumb itself and after you get past the fattest part, decrease a few (keep trying it on for perfect fit).

Telescope Gloves (may look silly, but if you go out in the cold and need to handle equipment, they're pretty nice): Thumb worked upward still connected. Yarn for these is Regia Design Line by Kaffe Fassett, color 4255
For the fingers, I start at the pinky because it is the furthest down on the hand, work up with stitches you already have on that edge of the hand. the fingers become separate as you work in the round, be sure to pull tight between the dpns in the beginning especially. For the next finger, the ring finger, insert the needle into yarn that is surrounding the area between the fingers and use some of that as stitches to help close the hole between the fingers (you can see on the ones above, between the ring and pinky fingers, I pulled a little too much! If that happens to you and you want it perfect, you can pull it out if you notice it before you get too far. Or you can leave it be, these kinds of things aren’t going to be noticed by others when you are wearing your gloves. People don’t tend to look at things that hard).
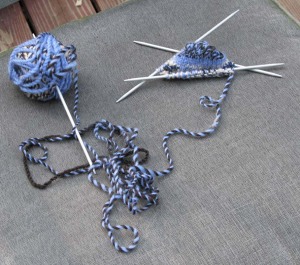
Mittens: Mittens are even easier to make without patterns. You can do them the same, or just do them in the opposite direction, like toe up socks, leaving a hole for the thumb. I’m doing these with yarn I spun, starting with Judy’s Magic Cast On to make them seamless at the ends of the fingers.

Mittens, from the fingers to the wrist.
Read Full Post »


