 Ever make a cardigan and not worry about putting buttons on it? Most shawls also don’t come with closures. Sometimes when its really cold out, you kind of miss the closing option – so, make your own shawl pins!
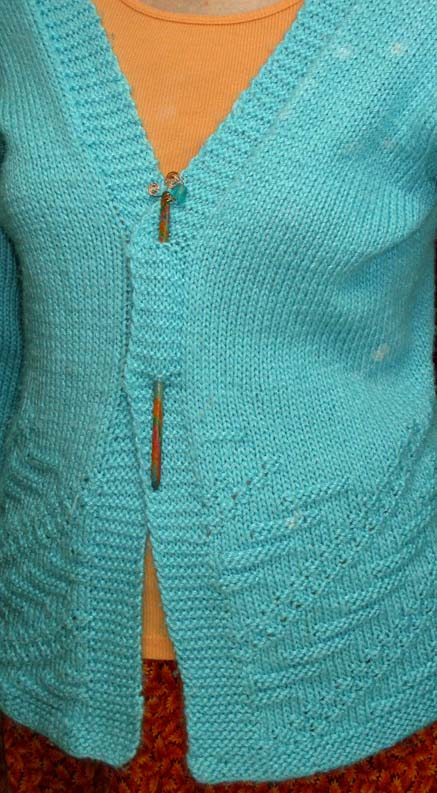
 This shawl is pinned on the backside with safety pins, the shawl pin here just adds decoration. Bling for your knitting. (This is a pattern shawl, the Summer Flies shawl, which you can find here: http://www.ravelry.com/patterns/library/summer-flies). Below, shawl pin doing actual pinning:
Making the Shawl Pins
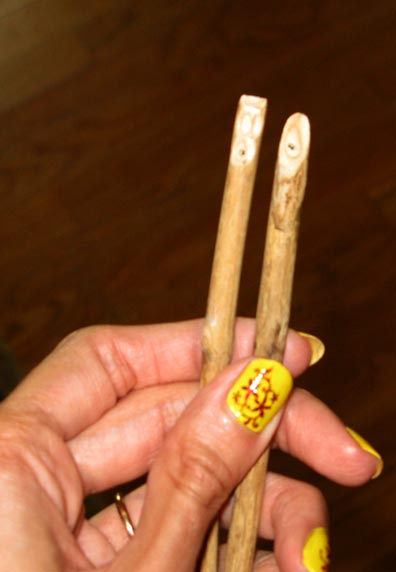
You’ll need some sticks. You can buy wooden dowels, or get sticks from the yard (both are pictured above). If you get sticks from the yard, make sure they are a good hard wood, nothing that breaks too easily, and nothing rotten. Ideally, you want them a little thinner than a pencil so they don’t put big holes in your sweaters.
You’ll need some tools. I used a dremel for the shaping /sanding. You can also sand by hand, but of course it will be slower (take a nice long set-down and relax with some lemonade while you sand :-)). You’ll need a couple of different grits of sandpaper (I used 100 grit “medium” and 220 grit “very fine”), and something to make a hole in the stick (I used a drill with a small bit -something around 1/16″ or 1.5 mm.). You may have luck just pushing a thumbtack through it, you’ll have to try). If you want to seal and protect your sticks, polyurethane or acrylic sealer.
You’ll need some decorations to make a big top for your stick so it doesn’t fall through your shawl. This can be anything you think will look good. I used an old pendent from a necklace, some wire from the craft store, a seashell from the beach, some sea glass beads, and the top of a broken hair stick.
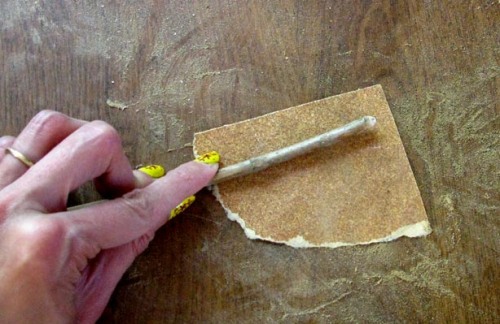
 Break your stick to about the length you’ll want it to be. Use the dremel with the sandpaper tool, or the coarsest sandpaper to shape one end into a rounded point. Shape the other end flat by sanding a lot on one side, (or whatever shape will fit best with the decoration you chose). Tips: If your stick starts to catch on fire or burns black, try using a slower speed. Its a good idea to wear safety glasses. Even though I’m right handed, I hold the dremel in my left hand and move the stick on the dremel instead of the dremel on the stick. Mainly because I do this inside and this puts most of the dust on the table instead of in my face.
 Sand the sides of the stick and the rounded point smooth. This smooths or removes the outer bark. I do this by hand, and I used the medium grain sand paper, (#100) for this, then finish it off with the #220. I make a hole in the flat part because I will use wire to help hold decorations on, so having a hole to put the wire through is helpful.
Staining and sealing: I used a bent up paperclip through the holes to keep the hole from getting sealed shut. I stained these to give them a little color, sanded slightly with very fine paper, sealed them with polyurethane, then sanded slightly again with very fine paper, each time just to remove any scratchiness. (Meaning you don’t really need to sand, just swipe off any rough stuff each time).
Here is an assortment of useful jeweling tools -though mostly not necessary for this. Various thicknesses of wire; and cutting, flat and rounded pliers (you can get this set of 3 pliers at the big box store for $9). Tip: Real stuff (such as real copper and silver wire) tarnishes. Some of the cheapo craft wire from the big box stores doesn’t tarnish quite as quickly. If its really important to you whether your piece does or doesn’t tarnish, and you’ve got months of time before you need the piece, get some of your chosen wire and leave it out for a long time before using it to see how it looks later. Silver can be polished with a polishing cloth from a jeweler, and I was told copper can be cleaned with damp baking soda and a soft toothbrush (but the one time I tried that I scratched the piece up, so, at your own risk!). For this already tarnished pendant, I won’t mind when the rest tarnishes to match. I don’t mind the old look on my knitting.
 So, I have a thin piece of wire, about 8 inches long or so going through the hole. Below: I wrap it around the pendant to attach it, in and out and around it again, letting the ends wind up on the back side. I left the loop on it where it used to hang on a necklace, I will attach another decoration here.
 It comes out looking like this from the front. Since the wire matches, it is not that obvious. People don’t usually look at things very closely, so its unlikely anyone will ever notice the wire, and it makes a secure attachment better than glue would.
I use some glue too. I use Aleene’s Tacky Glue, but any craft glue would probably do. I put some between the pendant and the stick to help hold it in place. I used an old bobby pin to dab glue on the ends of the wire to help dull them a little. Its best to tuck them between the stick and pendant, then cut them to that length to really keep the ends from getting caught on things, but gluing them to something helps too. I also put a dab of glue on the loop I had to open to add the butterfly decoration to help seal it shut.
 Finished pin below, securely attached and made from a stick from my yard. This is an old pendant my mom had, but you can get pendants like it, and the butterfly, at the craft stores.
 And of course once you’ve got the wire, you wind up making other fun stuff like the necklace (a crystal wrapped in wire, then wrapped in felted wool, then hung on the copper wire).
 Shawl pins also make great hair sticks! (Which of course also means that if you don’t want to make shawl pins, you can buy hair sticks with big tops to use as shawl pins.)
 Details on each stick: 1. Stick from the yard with necklace pendants, stained and polyurethaned. 2. Wooden dowel, unstained, red wire wrapped around a glass stone (glue behind the stone helps with security). 3. Wooden dowel, stained and polyurethaned, seashell glued on to a flat end of the stick with copper wire wrapped around for both decoration and security. A separate wire is bent and hanging through the hole, beads added to each end, and wire wrapped into spirals with the round nose pliers to hold the beads on. 4. Wooden dowel, I tried my hand at making a spiral shaft, but you really kind of need a wood turning machine. The pendant glued and wired on to this was the top of a broken hair stick. 5. Haven’t decided what to put on this stick from the yard yet, but it is urethaned and ready…. 6. This was a chopstick from a chinese restaurant, unstained. I colored it with colored pencils to look like those harmony wood knitting needles you see in magazines. (This was an experiment, didn’t come out quite like I hoped, but its okay.) Copper colored wire wrapped through the hole and spiraled at the ends to hold the bead on.


